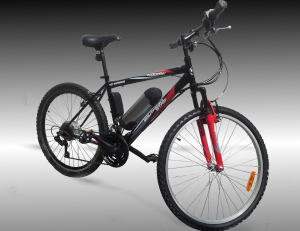
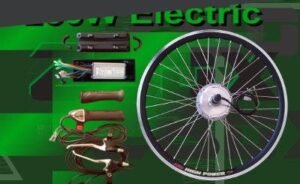
ebike conversion kit
A step by step guide to converting your bicycle to an ebike.


Remove bicycle wheel
A 12mm spanner will loosen the axle nuts holding the rear bicycle wheel in place
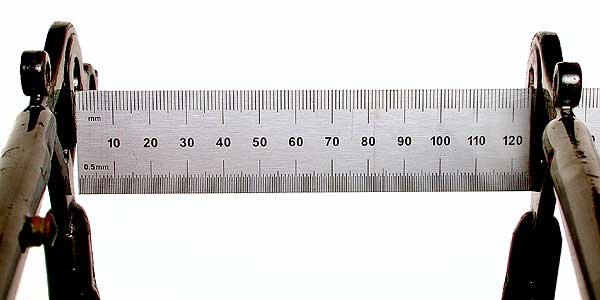
Check the width of your rear Dropout
Check the width of the rear axleon your bicyle. This will determine the width of the electric hub motor you will be able to install.
Rear Wheel Sprocket Mount

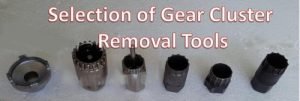
Replacing gear clusters
Gear clusters are normally fitted to rear wheel electric hub motors, however, you way wish to re-use the gear cluster that came with the bicycle wheel.


Disc brake Spacer & Washers
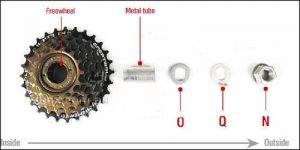
Gear Cluster Spacer & Washers
Larger gear clusters will often require a spacer. This is needed to prevent the frame rubbing against the gear cluster.
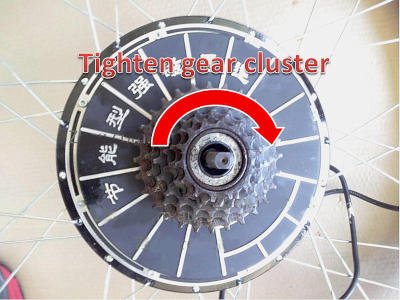
Screw on the gear cluster
Although removing the gear cluster can be challenging. it screws on by hand. No tools are needed and the cluster does not need to be tight. Pedaling will tighten the gear cluster naturally.

Tighten Axle Nuts on the hub motor
There will be more load transmitted through the axle of a motorized wheel so retaining nuts should be securely tightened.

Fitting a parcel rack
Parcel racks are often required to mount batteries.
Gas Bicycle Engine tuning
We all want to squeeze some more performance from our bicycle engines. See some quick, simple and cheap tuning options that will have your bicycle tearing up the road.


Bicycle Twist Grip
Slowly pull and twist the handle grip twist grip by hand to remove both grips. If available, use compressed air (blown between the grip and the bar) as you twist the grip to assist removal. Loosen the right hand brake lever and derailleur retaining bolt and remove the front brake lever.
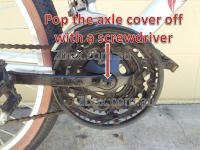
5.1(a) Remove the Crank Arm
Take off the cover of crank arm with flat-tipped screwdriver. There are a variety of crank arm connectors. Most crank arms can be removed with a hexagonal socket. Unscrew the fixing nut with the appropriate tool.

5.1(b) Remove the crank arm (Crank Arm Remover)
Screw the crank arm remover in place and then screw the bolt of the remover with spanner. Note that the screw thread of the RH pedal is normal, however, LH pedal is a reverse screw thread. The pedal sensor should be fitted to the RH pedal.
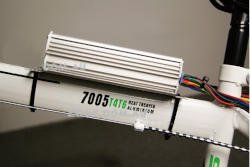
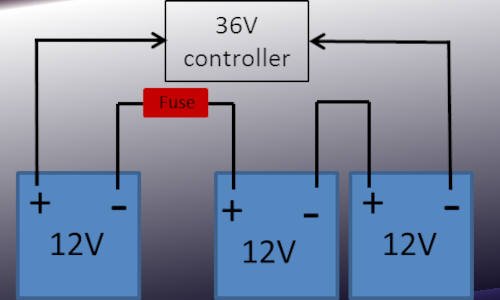
Hub motor controller
There are a number of positions where the controller can be mounted: